Pack a lighter camera bag for the day you have planned
Pack for a route and a subject, then remove the equipment that has no clear job.
A camera bag becomes easier to carry when every item has a reason to be there. Begin with the day’s route and the kinds of photographs you expect to make. A city walk, a garden visit and a mountain outing place different demands on you. Choose equipment for the real plan rather than every possible picture.
Decide what you will use most
Choose the camera or phone you expect to reach for and the view you will use most often. If one device is enough, give it the day. If you carry a separate camera, decide what it does better for your intended photographs and when you will use it. Two devices without distinct jobs create more files and more decisions.
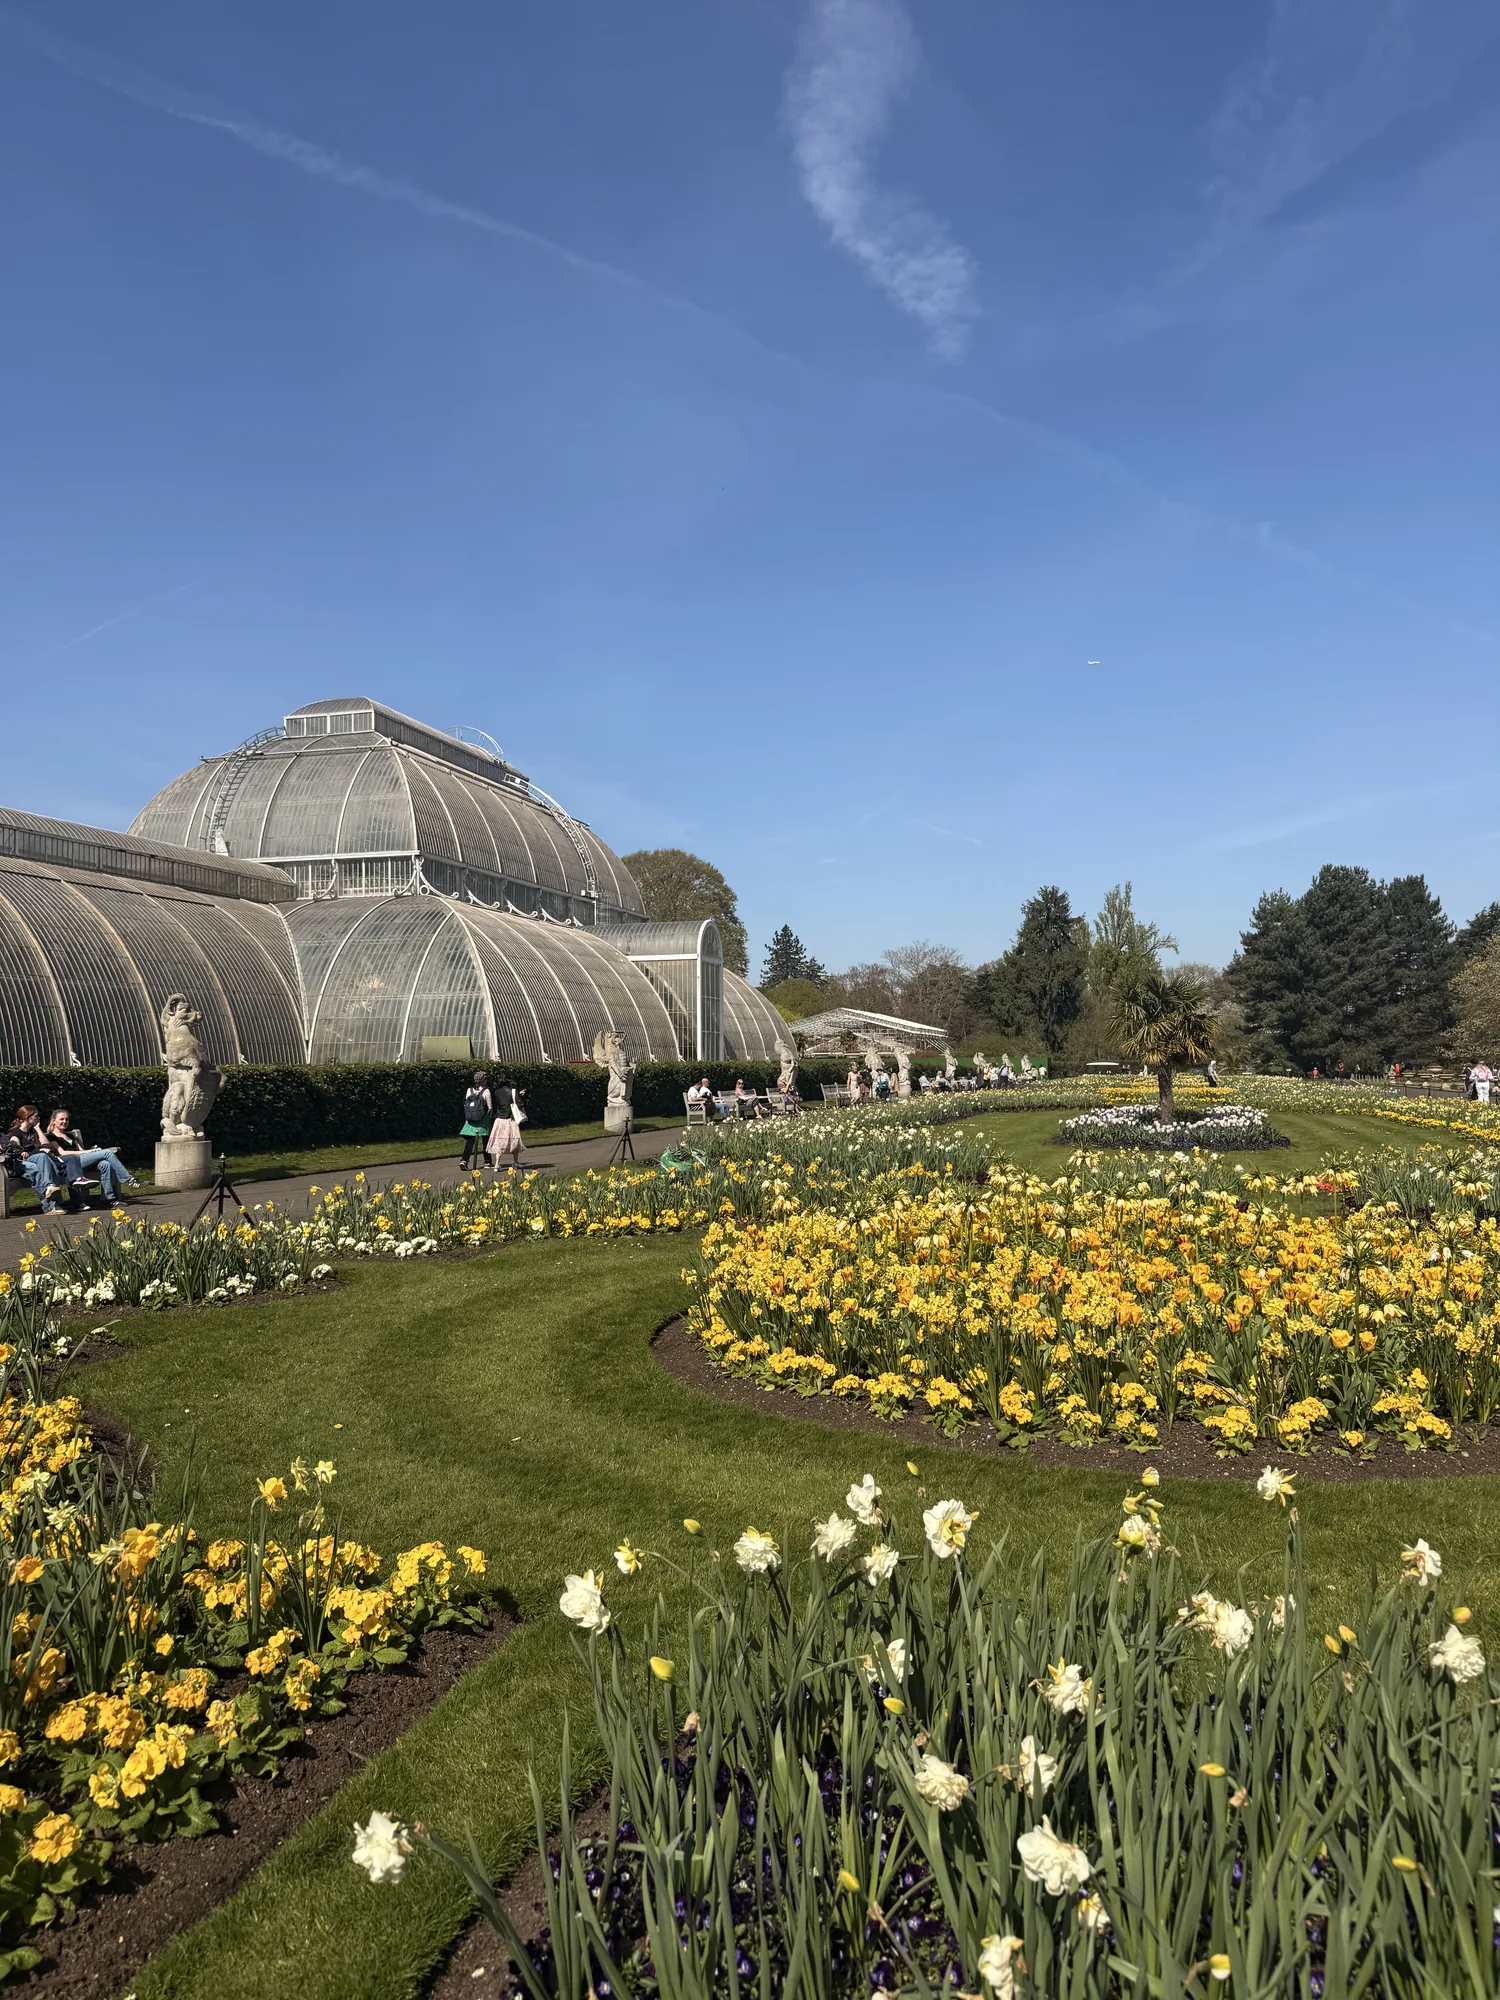
The Kew cover uses a wide view of a glasshouse and garden. A visit centred on that kind of scene may need less equipment than a wildlife outing requiring distant detail. Match the bag to the subject. Avoid adding an unfamiliar accessory just before a trip; learning it while walking through a busy place can consume the time you wanted for looking.
Remove repeated options
Lay the equipment out and identify items that solve nearly the same problem. Choose one where a second is unlikely to change the photographs. A spare item earns its place when failure would seriously affect the day, not simply because it fits into an empty pocket.
Think about batteries, charging and storage in terms of the planned hours outside. Check the items you do carry before departure. An appropriate spare battery or a way to charge a phone can be useful, but carrying several cables for devices that will stay in the accommodation adds little. Label or group the small essentials so they can be found without pouring the bag onto a bench.
Make access comfortable
Put frequently used items where you can reach them without stopping in the middle of a path. Keep the camera secure when walking and choose a bag or strap that remains comfortable with the load. Test the arrangement on an ordinary walk before the trip, including taking the camera out and putting it away again.
Weather protection needs to be accessible before a shower begins. Keep a clean lens cloth separate from loose sand or crumbs. Avoid placing the bag on wet ground simply because it is the nearest available surface. A small, orderly kit encourages you to make the photograph and continue, while a crowded bag can turn each stop into a search.
Leave room for the rest of the day
The camera equipment must share the bag with the things the outing actually requires: water, a layer, travel details and any route-specific essentials. On a mountain day, photography items should not displace navigation or safety equipment. On a city day, leave room for the comfortable basics instead of treating the bag as a portable equipment cupboard.
After the outing, note what was used and what stayed packed. Keep the unused list practical: an item carried for a sensible contingency can remain, while an optional lens untouched on several similar days can leave the next bag. Packing lightly is a repeated decision based on experience. It becomes easier when the route and the photographs have been chosen before the equipment.
A few useful answers
Should I carry both a camera and a phone?
Carry both when they have clear, different uses. Otherwise one familiar device can make the day simpler.
How can I tell what to leave behind?
Review what you used after a similar outing and remove optional duplicates. Keep items required for the route and sensible contingencies.
← More from the journal