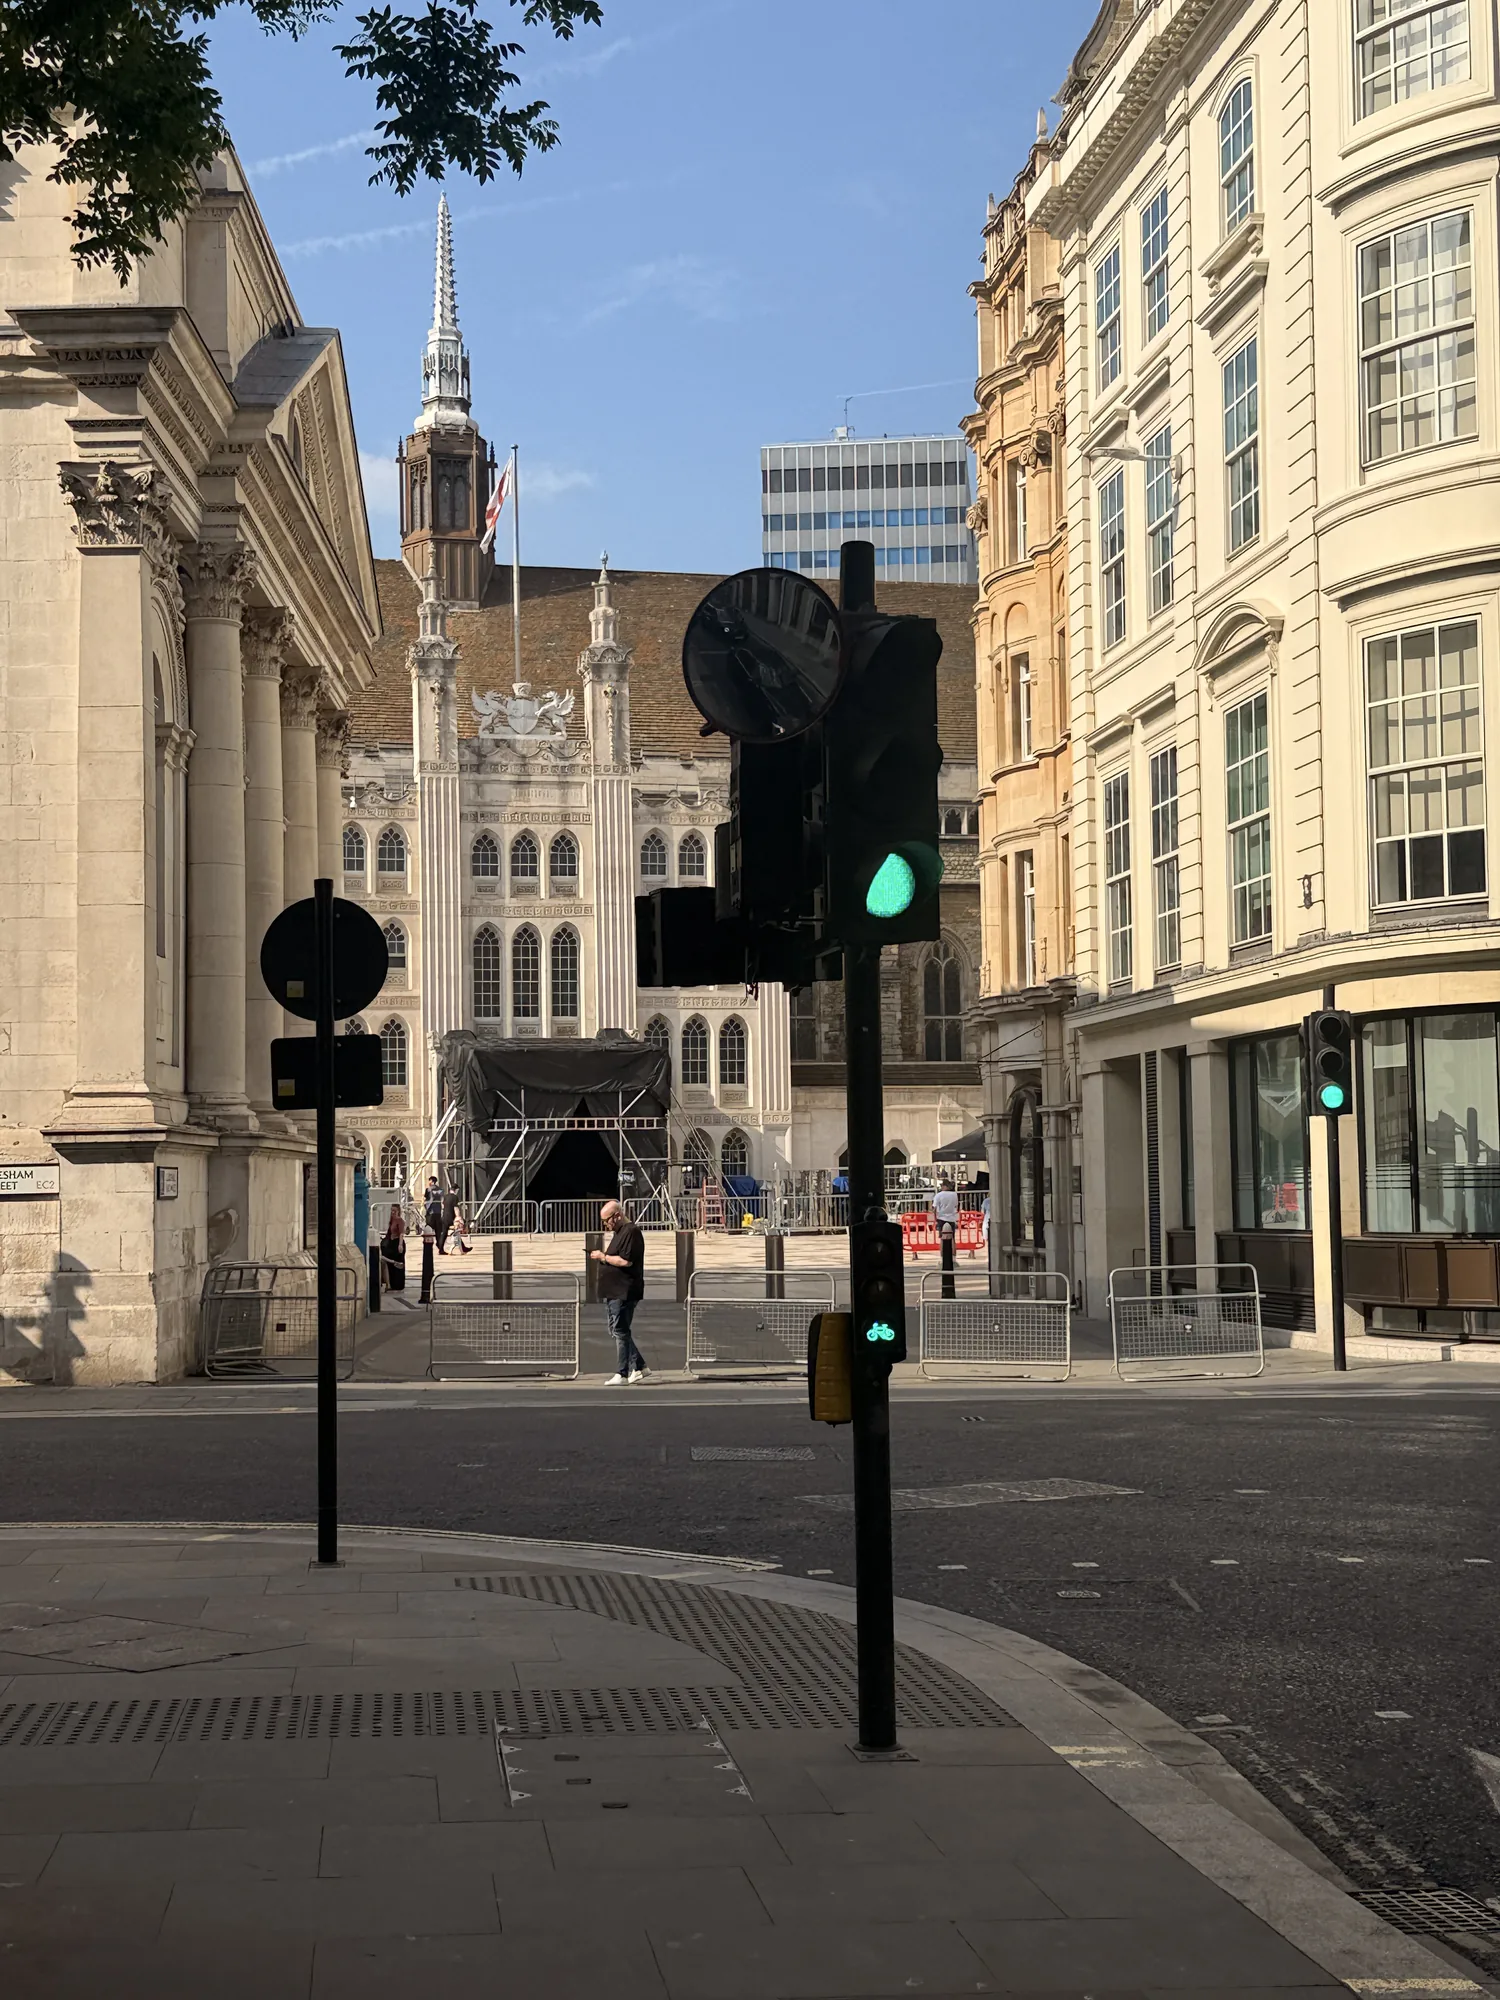
Photographing London’s river and bridges on foot
Choose one stretch of river and make a small set of photographs that belong together.
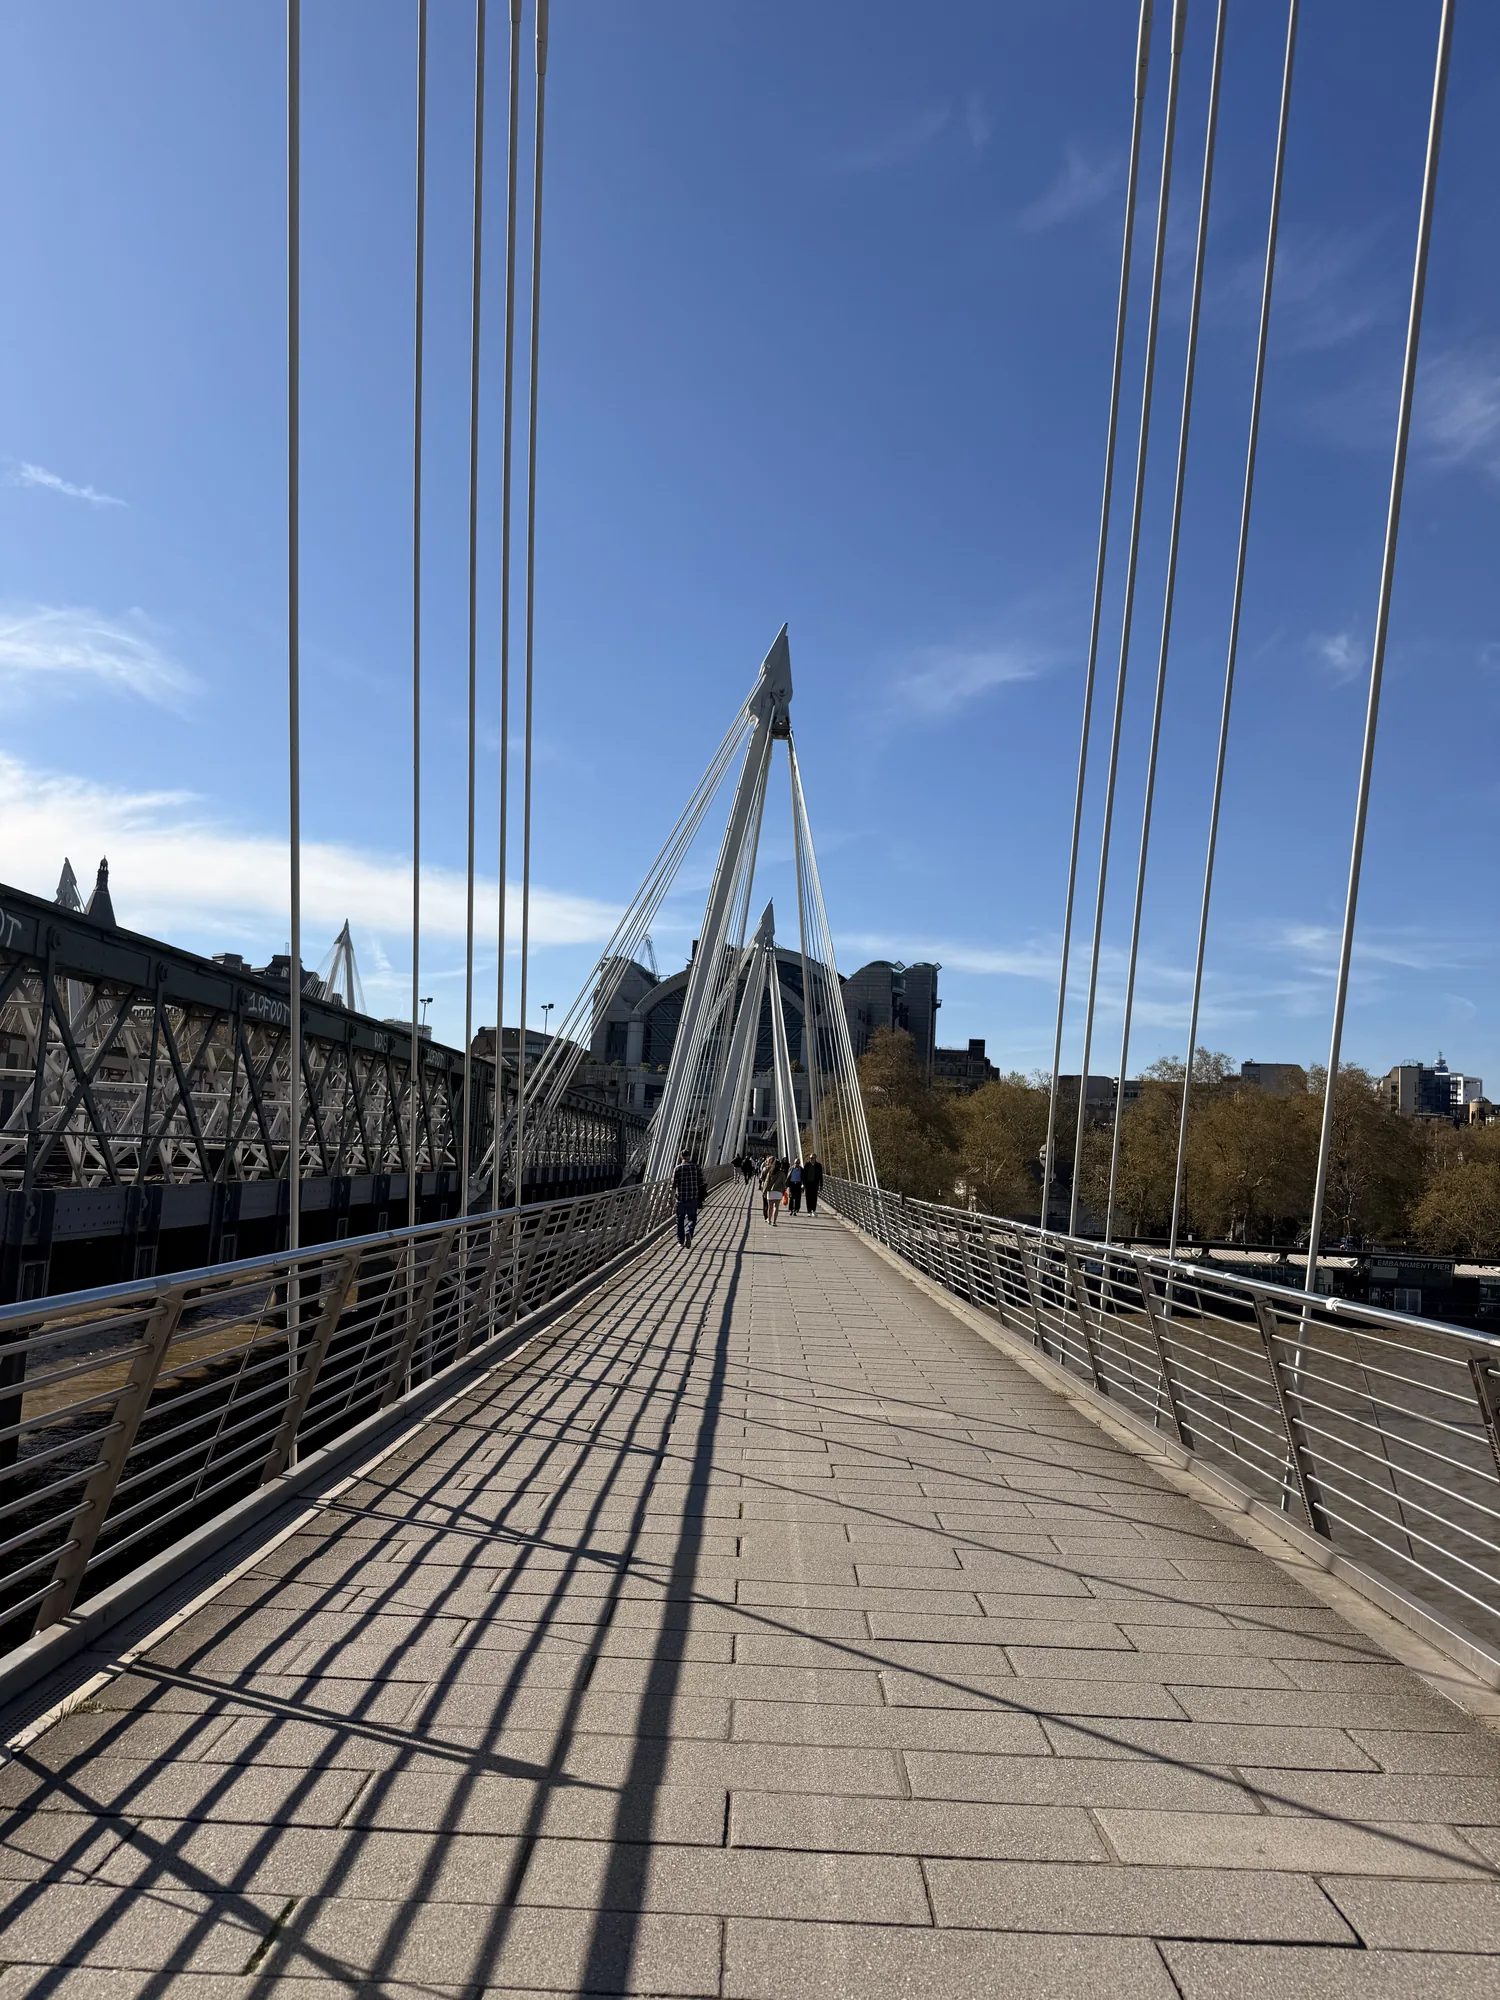
A river photo walk works best when it has a modest boundary. London offers too many bridges and viewpoints to cover carefully in one evening. Choose a central stretch or the area around Tower Bridge, then work slowly with the changing light rather than chasing every recognisable building along the Thames.
Pick a stretch, then a direction
Around Tower Bridge, start on one bank and give yourself time to look across before crossing. A side-on view shows the relationship between the towers and the river; the bridge itself supplies a different picture, with road traffic and pedestrians. Keep these as separate subjects instead of trying to fit all of them into one frame.
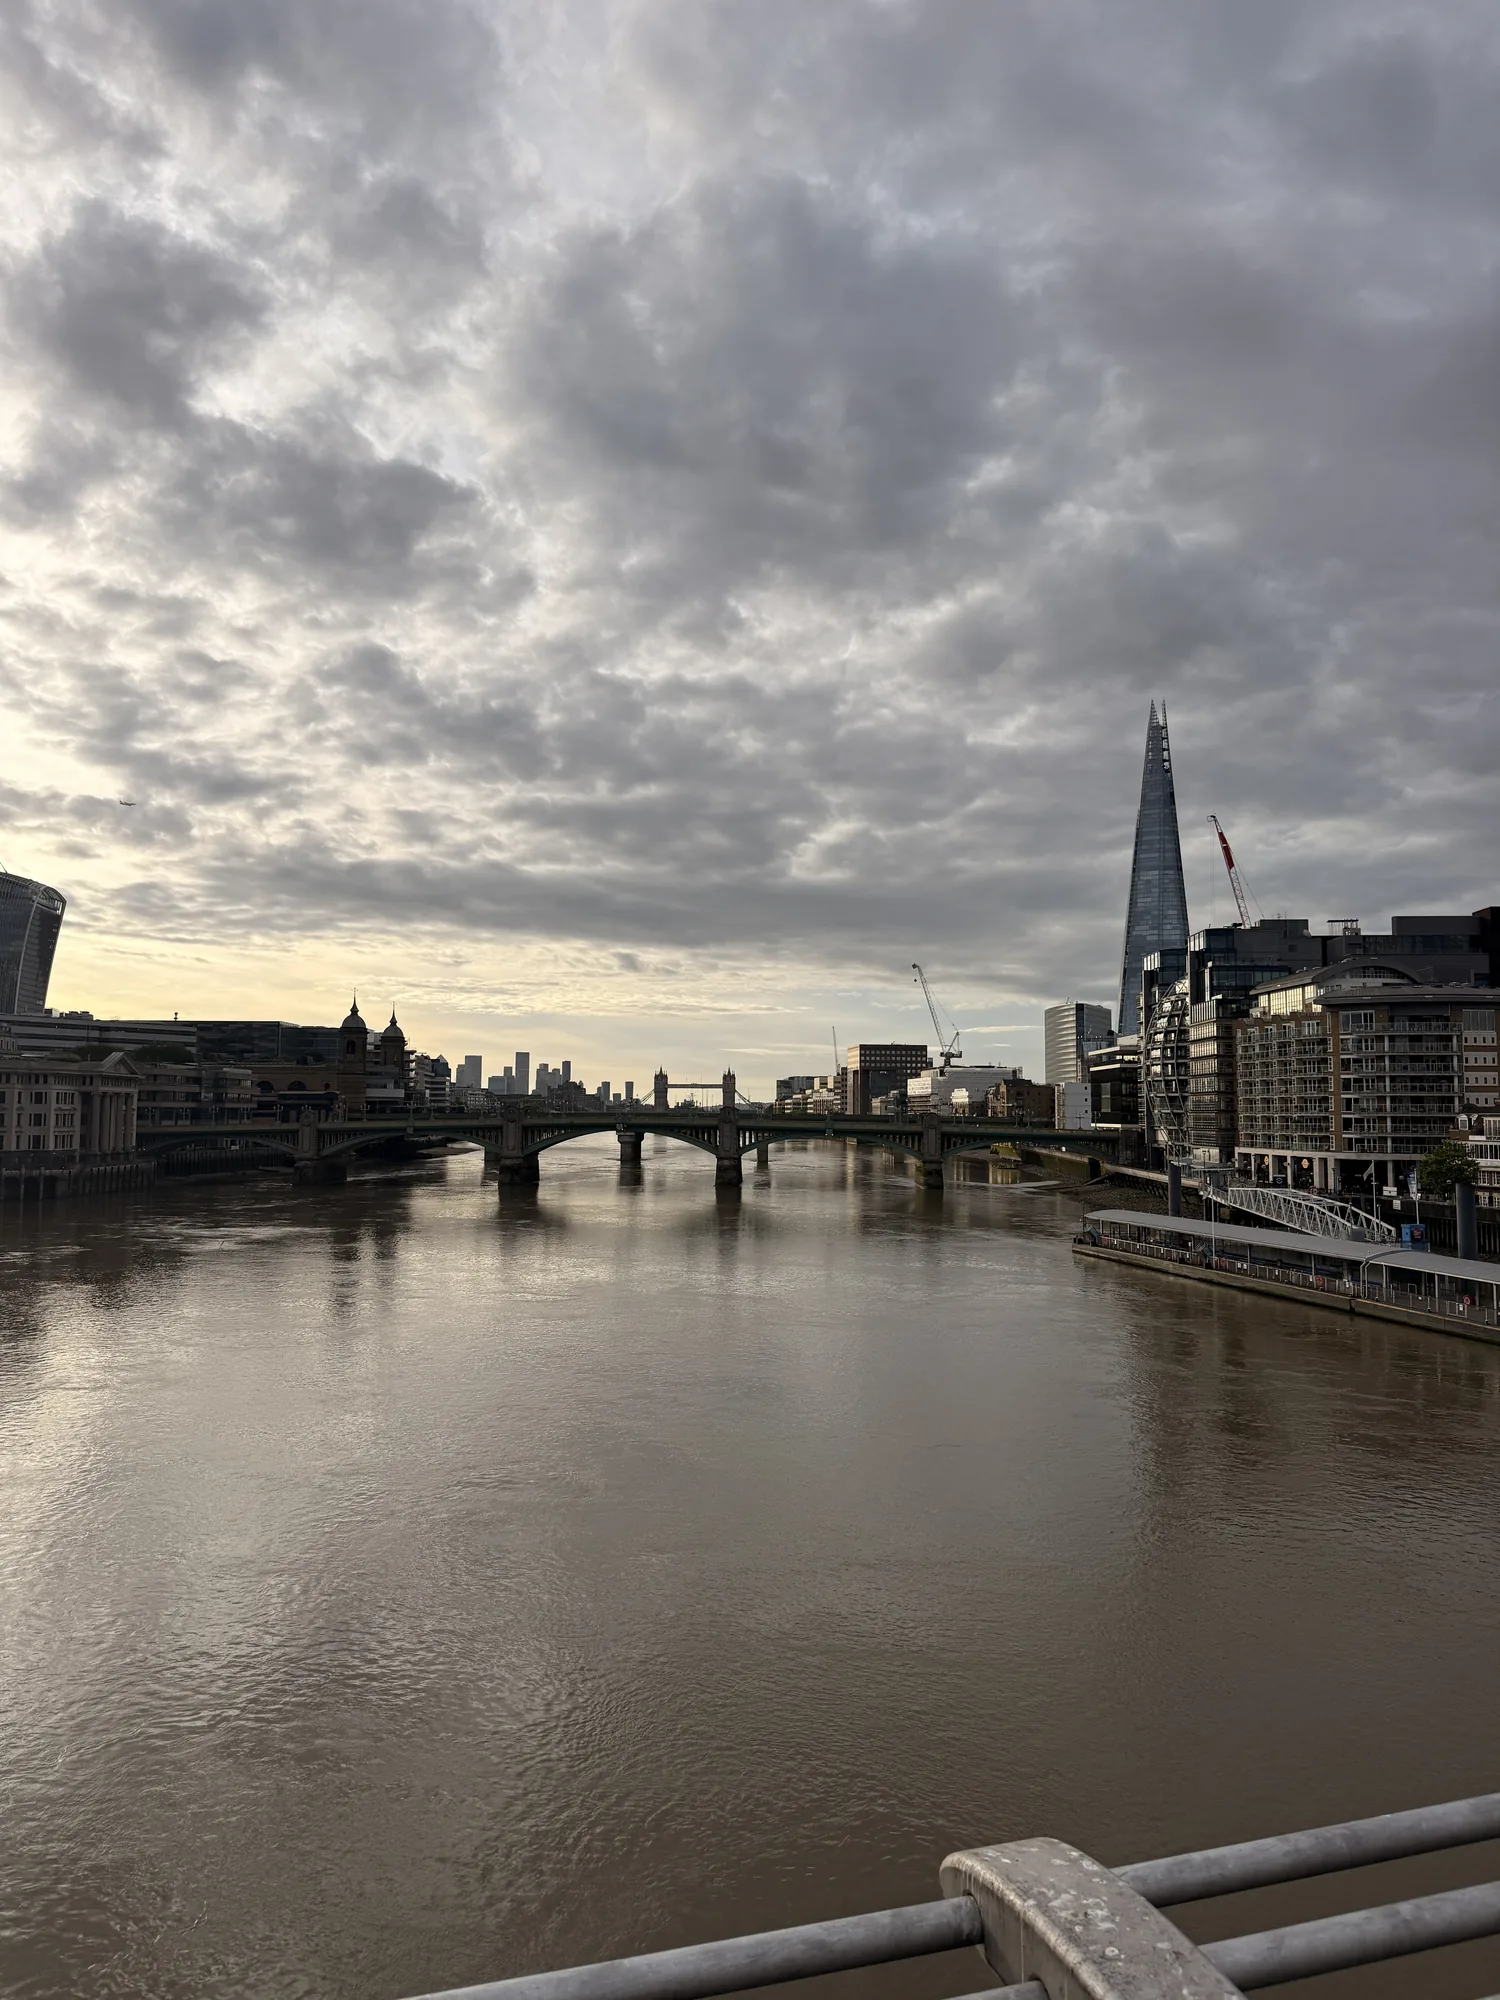
For a broader city composition, the central bridges and South Bank offer river curves, boats and layers of buildings. Choose a start and finish that have convenient transport. The useful question is how long you want to stand and look, not how far you can walk. Three thoughtfully chosen stops give you more time to notice light than ten rushed ones.
Make three kinds of picture
Begin with a wide frame that shows the setting. Include enough water or foreground pavement to explain where you are standing. Next, look for a tighter detail: a bridge joint, a moored boat or the pattern of railings. Finally, try a picture in which ordinary movement matters, such as a bus crossing the bridge or a boat moving through reflected sky.
A small sequence tells more than a row of nearly identical skylines. Leave space around the subject and watch the edges of the frame. Traffic lights, lamp posts and half a person’s arm can distract from a scene that seemed simple when you raised the camera. Reposition by a few steps before relying on a crop later.
Give the light time to change
Clouds can turn the water from pale silver to charcoal within minutes. Wait when the composition is already good. Late light often gives stone buildings depth, but a grey afternoon can produce quieter photographs with fewer harsh shadows. Plan around the forecast and the available daylight, without assuming a sunset will appear on demand.
If you stay into dusk, make sure the route home is already understood. Keep your bag closed while photographing and avoid balancing equipment on parapets. A phone is sufficient for a coherent photo diary; use its normal lens before switching repeatedly between extreme wide and zoom views. Consistent framing helps the photographs feel like parts of the same walk.
Keep the public route clear
Tower Bridge’s attraction has its own entrance, tickets and visitor arrangements. The pavements and the paid high-level visit are different experiences, so decide which you need. The official visitor information recommends allowing time for the surroundings as well as the entrance queue. Read the photography rules for any interior you plan to enter.
On busy paths, step aside to look at a screen and leave room for people passing. Do not stage a photograph in a cycle lane or stop a group across a bridge approach. If you want a commercial shoot with equipment or an organised setup, check the relevant permissions. For an ordinary travel walk, a light camera, a short route and patient observation are usually enough.
A few useful answers
Should I visit inside Tower Bridge for river photographs?
The high-level attraction offers a separate viewpoint, but a riverside photo walk can use exterior views. Book the interior if that experience is part of your plan.
What if there is no sunset?
Use the softer light for details and layered buildings. A coherent photo set does not depend on a colourful sky.
Sources & visitor information
Destination information checked on 4 October 2026. Use the linked venue or authority for current access and booking details.
← More from the journal